We all reach a point in our software development careers where we want to pioneer some new technology that is in preview or has just hit full release. The problem we often run into is the lack of resources and documentation because of its newness. These resources are often critical whether you are troubleshooting a minor bug or setting up an entirely new project that integrates several separate technologies together. In this blog we are going to solve that problem and tackle integrating ASP.NET Core and Angular2 (with angular-cli). This is all done in Visual Studio 2017.
You need the following installed to continue along with this blog:
-
Angular CLI (https://cli.angular.io/) – “The Angular CLI is a tool to initialize, develop, scaffold and maintain Angular applications.”
-
Node.js (https://nodejs.org/en/) – “A JavaScript runtime build on Chrome’s V8 JavaScript engine.”
-
Webpack (https://webpack.github.io/) – “Module Bundler”
-
Typescript (https://www.typescriptlang.org...) – “TypeScript is a typed superset of JavaScript that compiles to plain JavaScript.”
-
.NET Core (https://www.microsoft.com/net/...) – “.NET Core is a general purpose development platform maintained by Microsoft and the .NET community on GitHub. It is cross-platform, supporting Windows, macOS and Linux, and can be used in device, cloud, and embedded/IoT scenarios.”
Creating the project
We are going to use the ASP.NET Core Web Application (.Net Core) with the Web Application selected. This will give us a solid base upon which to build our project.
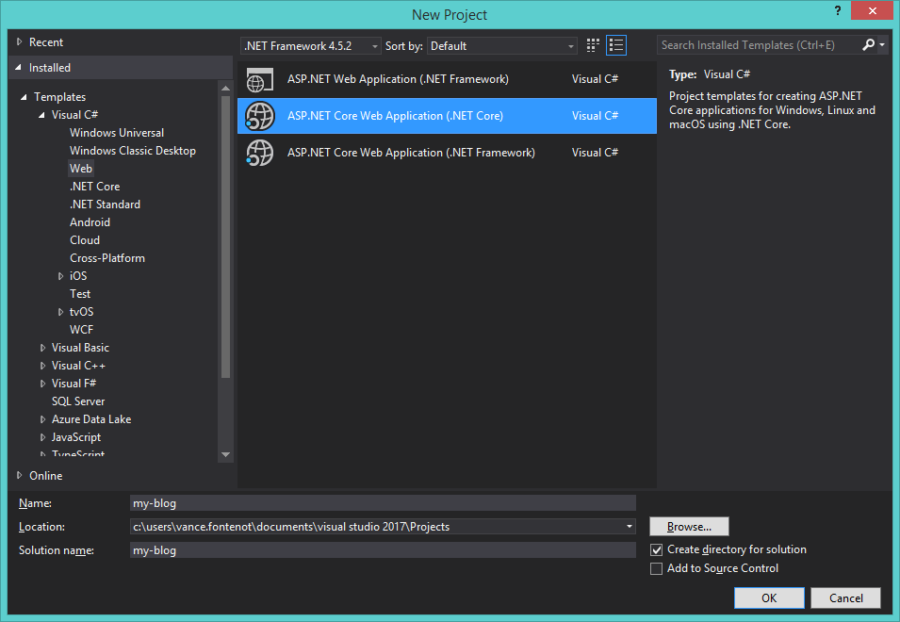
New Project Dialog
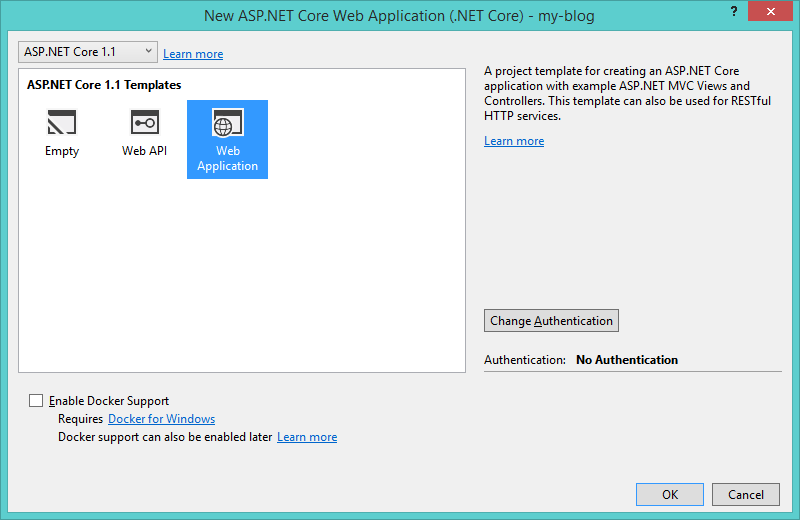
ASP.NET Core Options
Modify the ASP.Net Project
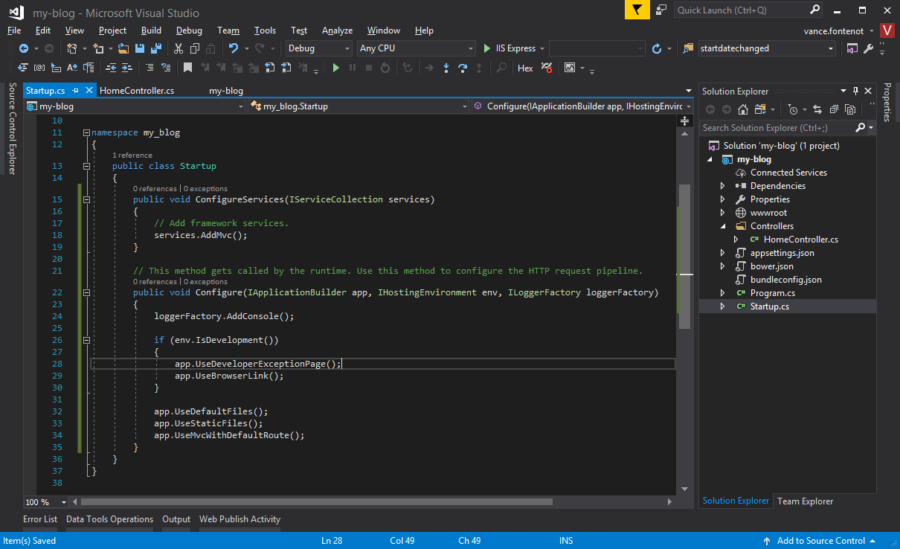
1. Update Startup.cs with the code below. This will setup the ASP.Net Core pipeline and services to work with Angular 2
public class Startup

{

	public void ConfigureServices(IServiceCollection services)

	{

		// Add framework services.

		services.AddMvc();

	}
public void Configure(IApplicationBuilder app, IHostingEnvironment env, ILoggerFactory loggerFactory)
{
loggerFactory.AddConsole();
if (env.IsDevelopment())
{
app.UseDeveloperExceptionPage();
app.UseBrowserLink();
}
 app.UseDefaultFiles();
 app.UseStaticFiles();
 app.UseMvcWithDefaultRoute();
 }
 }
ASP.NET Core Options
2. Delete all actions in the HomeController
3. Delete the Views folder
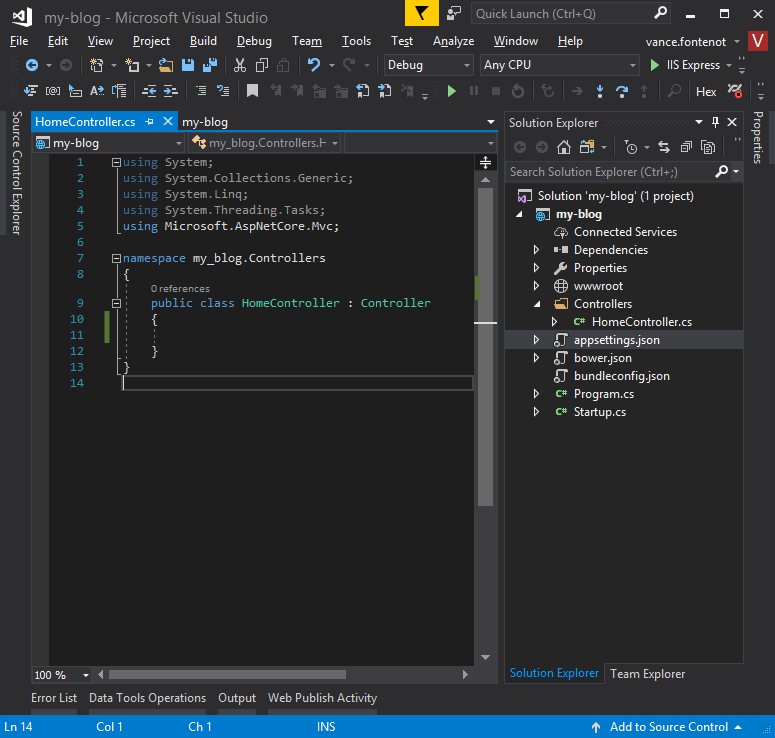
End Result
Set up the Angular Project
1. Open the command prompt and navigate to a temp directory
2. Call the angular-cli command ng new my-new-angular-name. This may take a few minutes

Angular-CLI ng new
3. Navigate to the folder that was created by the command you just ran
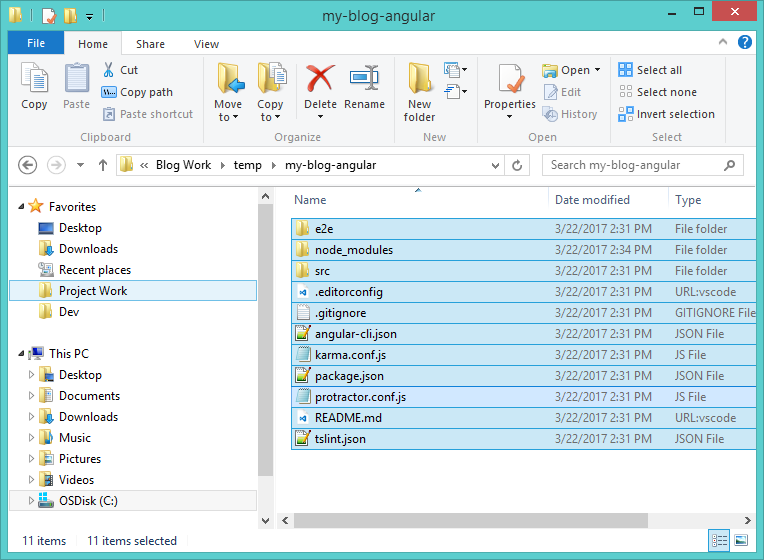
ng new Directory
4. Cut and paste the contents of this folder into your Visual Studio project’s directory. Your Visual Studio project should automatically pick up all of these files
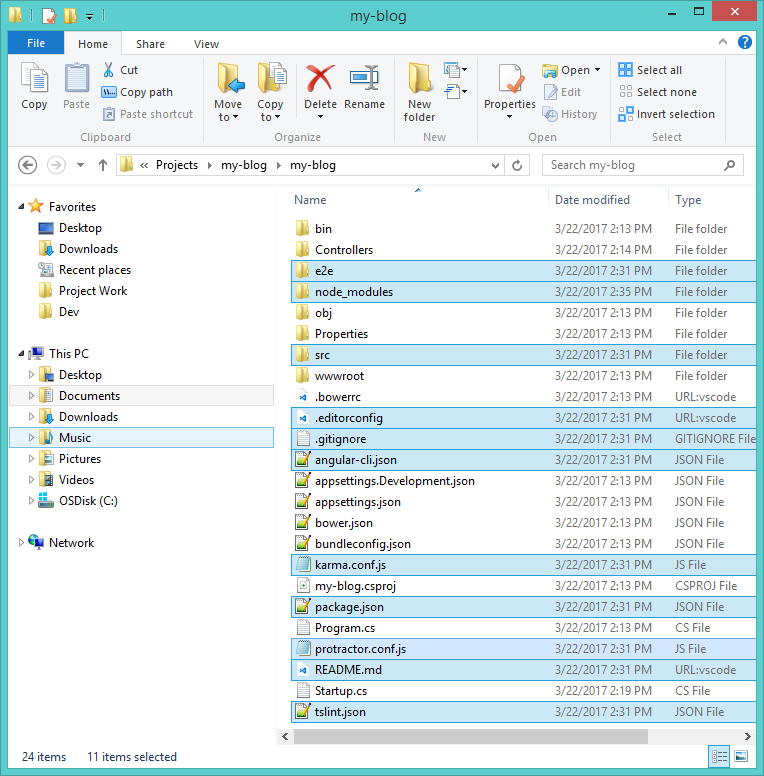
Visual Studio Project Directory
5. Open the angular-cli.json file that should be a part of your project in Visual Studio now. Change the value for the outdir value from dist to wwwroot.
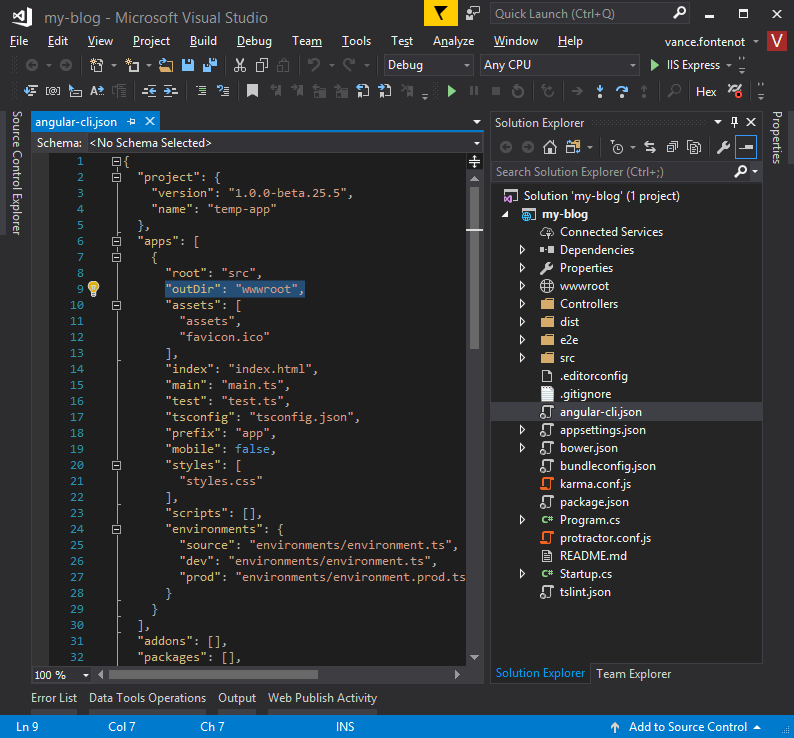
angular-cli.json
Getting Build Ready
Before launch the application you should open the command prompt again and run ng build in the project directory. This will build and bundle your angular app for debugging. If you would like to have angular cli watch your code for changes, run the command ng build – watch instead. This will recompile your code any time you save changes to an angular specific file.
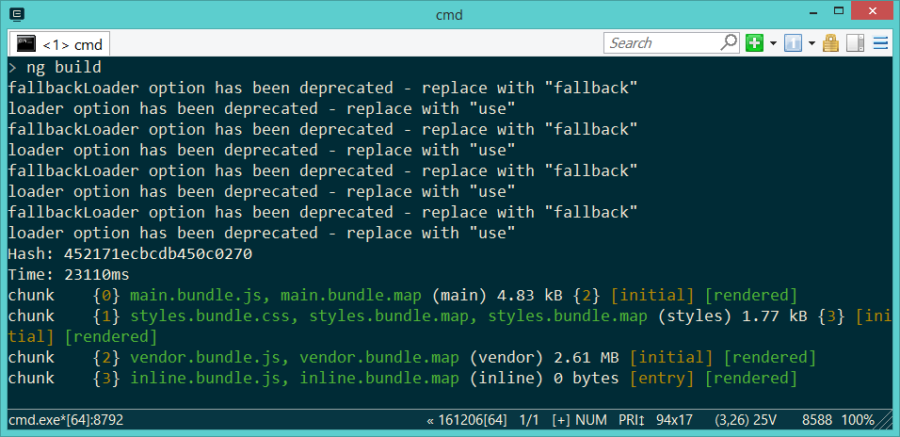
Angular-CLI ng build
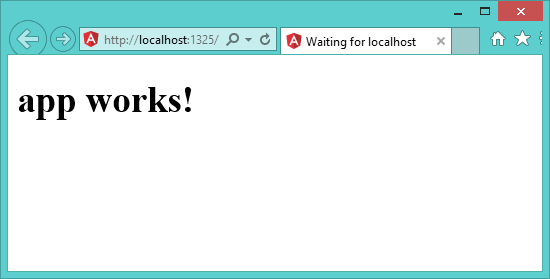
Run the App!
(Bonus) Hit the MVC endpoint from an Angular view
1. Create a new MVC endpoint in the HomeController.cs file
[HttpPost]

public ActionResult MyTest()

{

  var result = "Your post worked";

  return Json(result);

}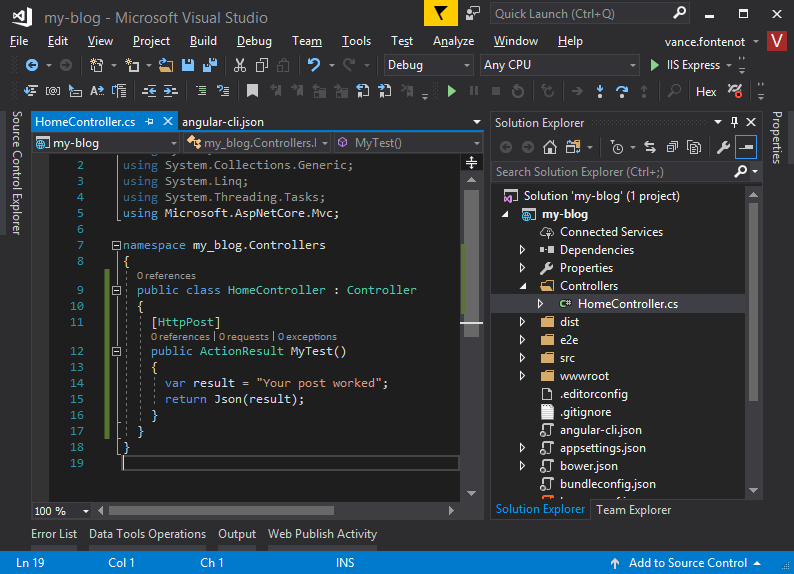
MVC Endpoint
2. Update your app.component.ts
Here we are adding handlers for a button to call our new MVC endpoint we just created.
import { Component } from '@angular/core';

import { Http } from '@angular/http';

import 'rxjs/add/operator/toPromise';
@Component({
selector: 'app-root',
templateUrl: './app.component.html',
styleUrls: ['./app.component.css']
})
export class AppComponent {
title = 'app works!';
successMessage: string = '';
constructor(
private http: Http
) {
}
onClick() {
var promise = this.executePost();
promise.then(response => this.onClickSuccess(response));
}
onClickSuccess(response: string) {
this.successMessage = response;
}
 executePost(): Promise<any> {
 var promise = this.http.post("Home/MyTest", null)
 .toPromise()
 .then(
 function Success(response) {
 return response.json();
 }
 );
 return promise;
 }
 }
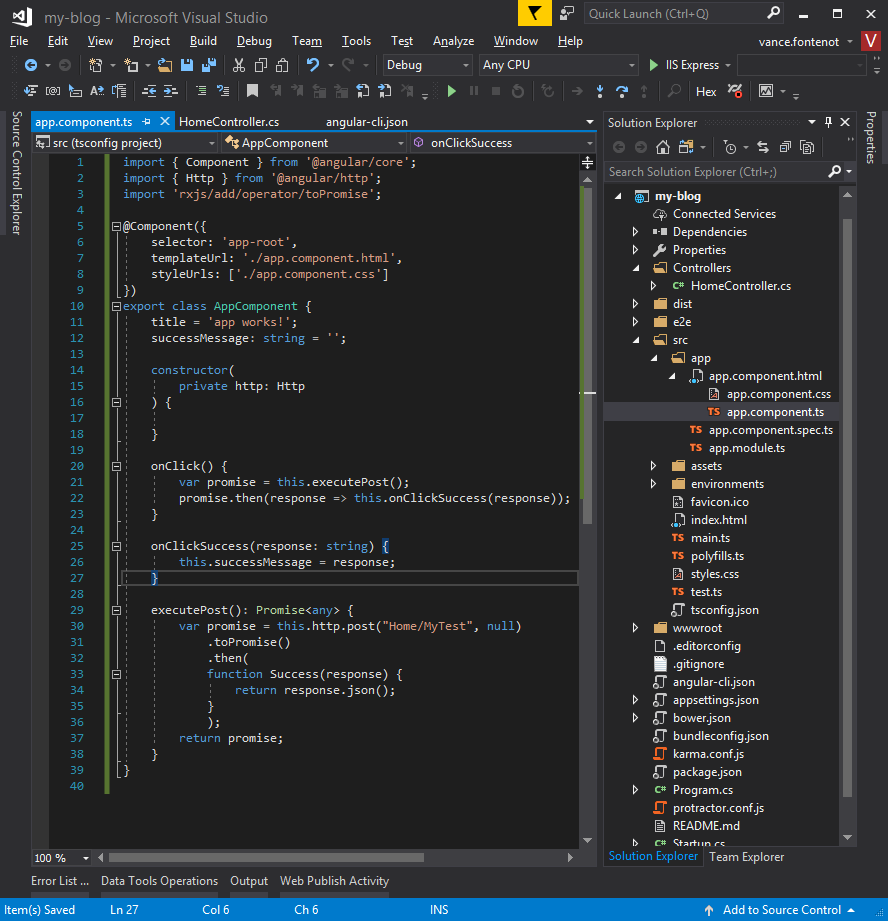
app.component.ts
3. Update the app.component.html
Here we are adding the button to call to the backing file of the view.
<h1>


</h1>

<button type="button" (click)="onClick()">Test!</button>
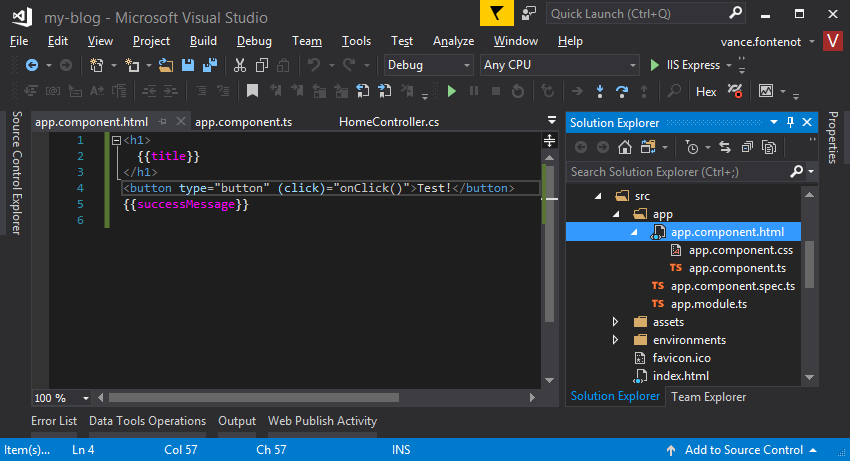
app.component.html
4. Run ng build in the command prompt again
5. Run the app and test your button
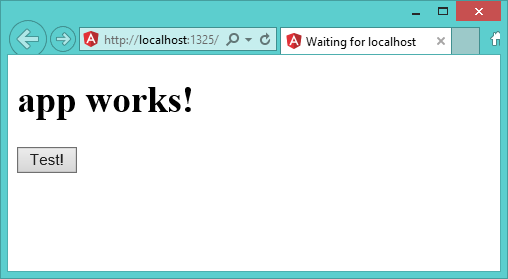
Application pre MVC call
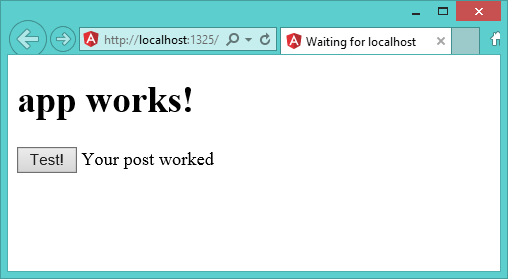
Application post MVC call
Information and material in our blog posts are provided "as is" with no warranties either expressed or implied. Each post is an individual expression of our Sparkies. Should you identify any such content that is harmful, malicious, sensitive or unnecessary, please contact marketing@sparkhound.com
Share this

Tutorial on DateTime JSON Serialization between Client and Server
Google Oauth Integration using an MVC ASP.Net App